One thing on everybody’s wishlist right now is the Casa Node. The company describes it as “the easiest way to get started with Lightning and a Bitcoin full node” and promises the ability to “make and receive Lightning payments, no coding required.” I was among the lucky few to win one in a raffle at CryptoSprings last fall, and I’m excited to share my experience working with the node.
Why a full node?
First off, why would anyone want to go through the trouble of running a full node? One common reason is simply to participate in the Lightning network: Lightning enables micropayments that are fast and inexpensive. With transaction fees that often fall along the order of one one-millionth of a bitcoin (also known as 1 Satoshi), this could be a game changer for digital content creators, and businesses that sell low-cost goods.
Right now, running your own node is the best and safest way to receive payments on the Lightning network. (Though it is possible to make payments, via apps like the Eclair for Android and Blue Wallet for iOS.) With support for bidirectional payments, the Casa node serves as a kind of point-of-sale system. Merchants and shoppers get to enjoy fast Bitcoin transactions of any size, all for a fraction of the typical 2-3% fee that many credit card companies impose.
It’s worth knowing that Lightning Labs is in the process of developing a client called Neutrino, which would eliminate the need for a full node. This would enable Lightning to run on mobile, further reducing the network’s barrier to entry. However, Neutrino is still in the testing phase so running something like the Casa node is great for the interim.
Another reason to run a full node is more philosophical. There’s a sense of self sovereignty to be had when you know that just by having a full node, you’re increasing network resiliency. It’s one more node that participates in block validation, one more node that maintains a full copy of the blockchain—and one more node to take down if someone wants to destroy the network. In a decentralized network, there’s no greater act of love than exercising your right to run a full node. Plus, many full node implementations come with wallets too. This allows users to completely control their own funds.
How technical do I have to be?

If we look under the hood, we see that the Casa Node is similar to the DIY Raspberry Pi nodes like the Raspibolt and Raspiblitz. However, the Casa node is designed to be a plug-and-play solution for anyone that doesn’t want to be bothered with the highly technical, and sometimes complex, setup that comes with standing up your own node. This is not really intended for hackers or those with the immediate urge to break into the system and customize it.
Having said that, it still requires some knowledge of how the underlying technology works, especially if you want to take advantage of Lightning. Casa’s beautiful UI will save you from the command line, but you still need to have a basic idea of the Lightning features that are exposed.
Casa Node: Set-up and getting started
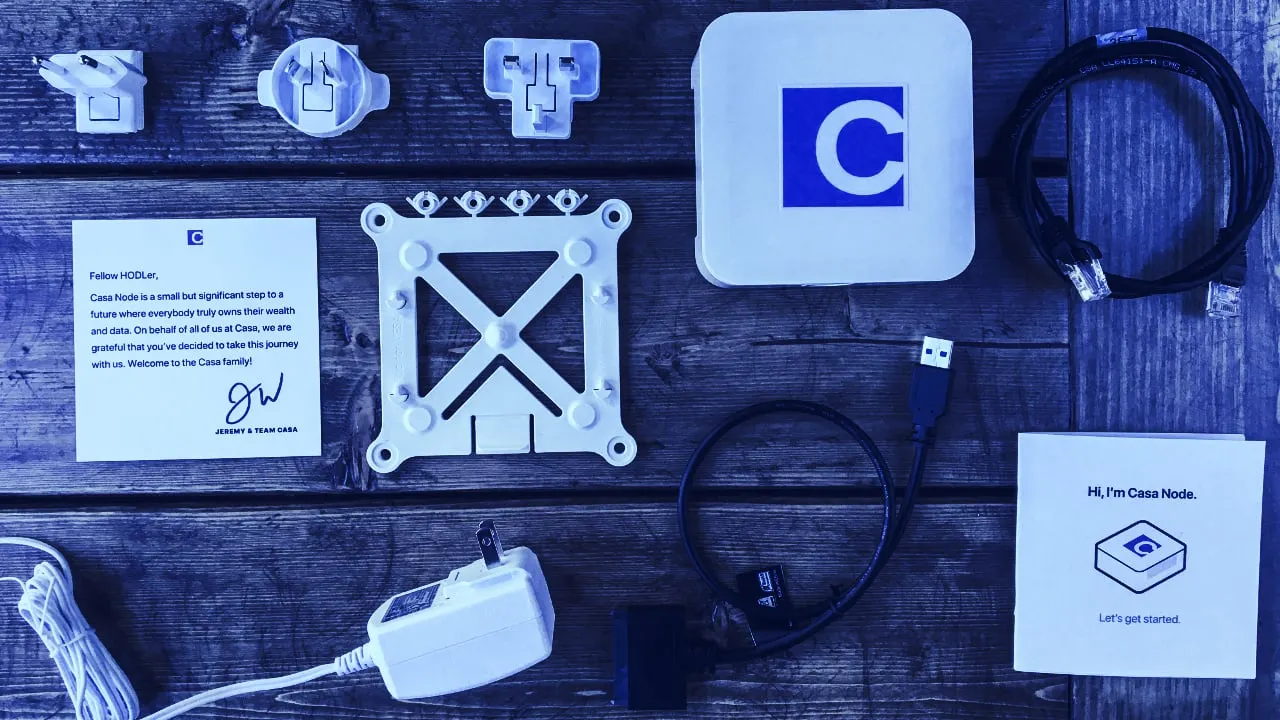
Let’s take a look at what comes in the box:
- Casa node
- AC power supply with international adapters
- 3ft Ethernet cable (this may not be long enough for some people)
- hard drive adapter cable (SATA to USB)
- Vesa mount
- instruction guide
- note from the Casa team

Removing the top reveals the Raspberry Pi 3B+ that’s inside. Under it is a 1TB Seagate HDD. One of the steps requires plugging in a cable from one port in the node to another. While it feels like you are connecting the node to itself, you are actually connecting the hard drive to the Pi.
The software specifics are as follows:
- Bitcoin node software: Bitcoin Core
- Lightning software: LND (made by Lightning Labs)
- OS: CasaOS (a modified version of Raspian)
At the moment, a full node is required to run Lightning which explains the need for such a large hard drive. The Bitcoin blockchain is nearly 200GB at the time of this writing, giving the Casa node enough space to run for years until it starts hitting storage limitations. I suspect future generations of Casa nodes will address these kinds of problems.
As far as setup goes, Casa couldn’t have made it any easier. Connect the hard drive, connect the node to your wifi router, and plug in the power. The node’s user interface is accessible from any computer within the same network.
After plugging in the power, the node spent about 15 minutes booting up and initializing. Once complete, it was ready to generate my private key and accompanying seed phrase. It’s important to write down the seed phrase on a piece of paper, not your computer, and keep it somewhere safe. If anything ever happens to your node, this is how you are able to restore funds.
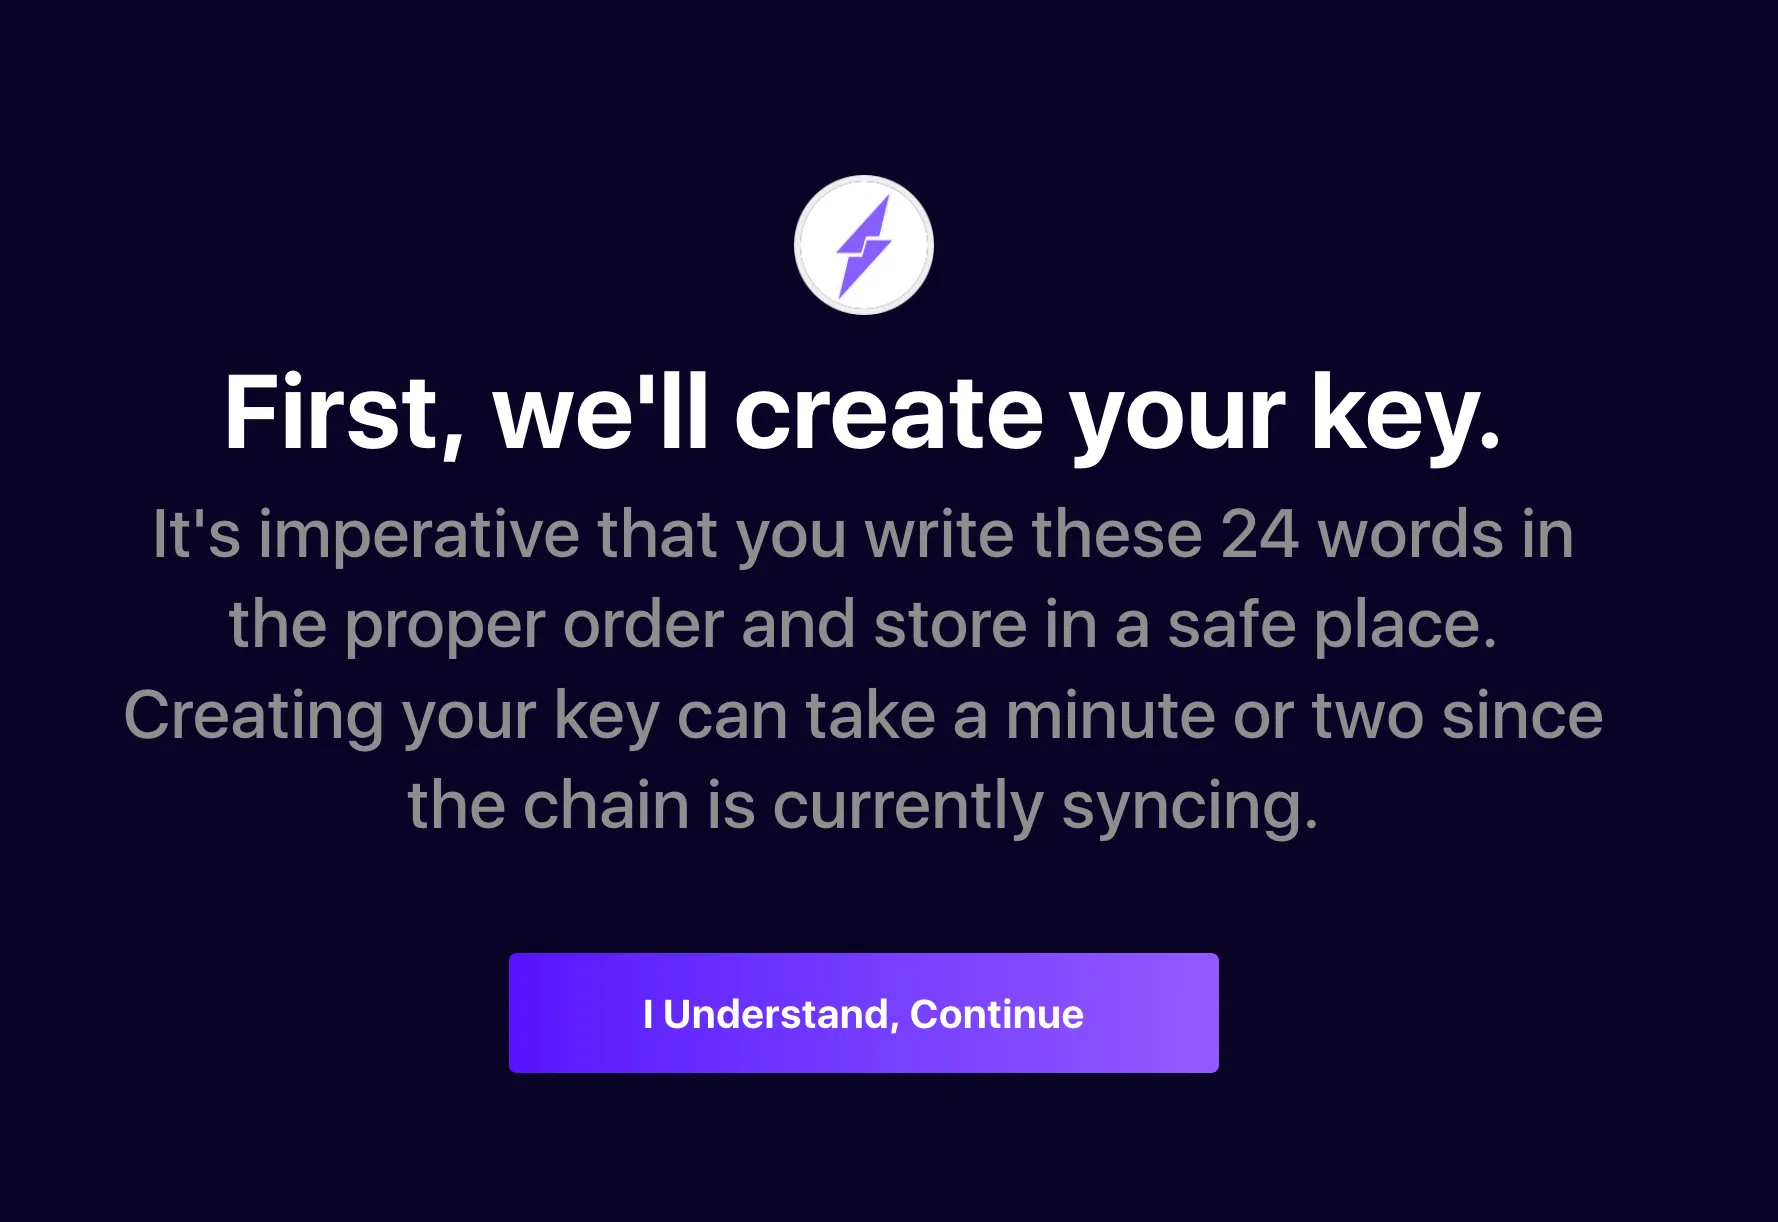
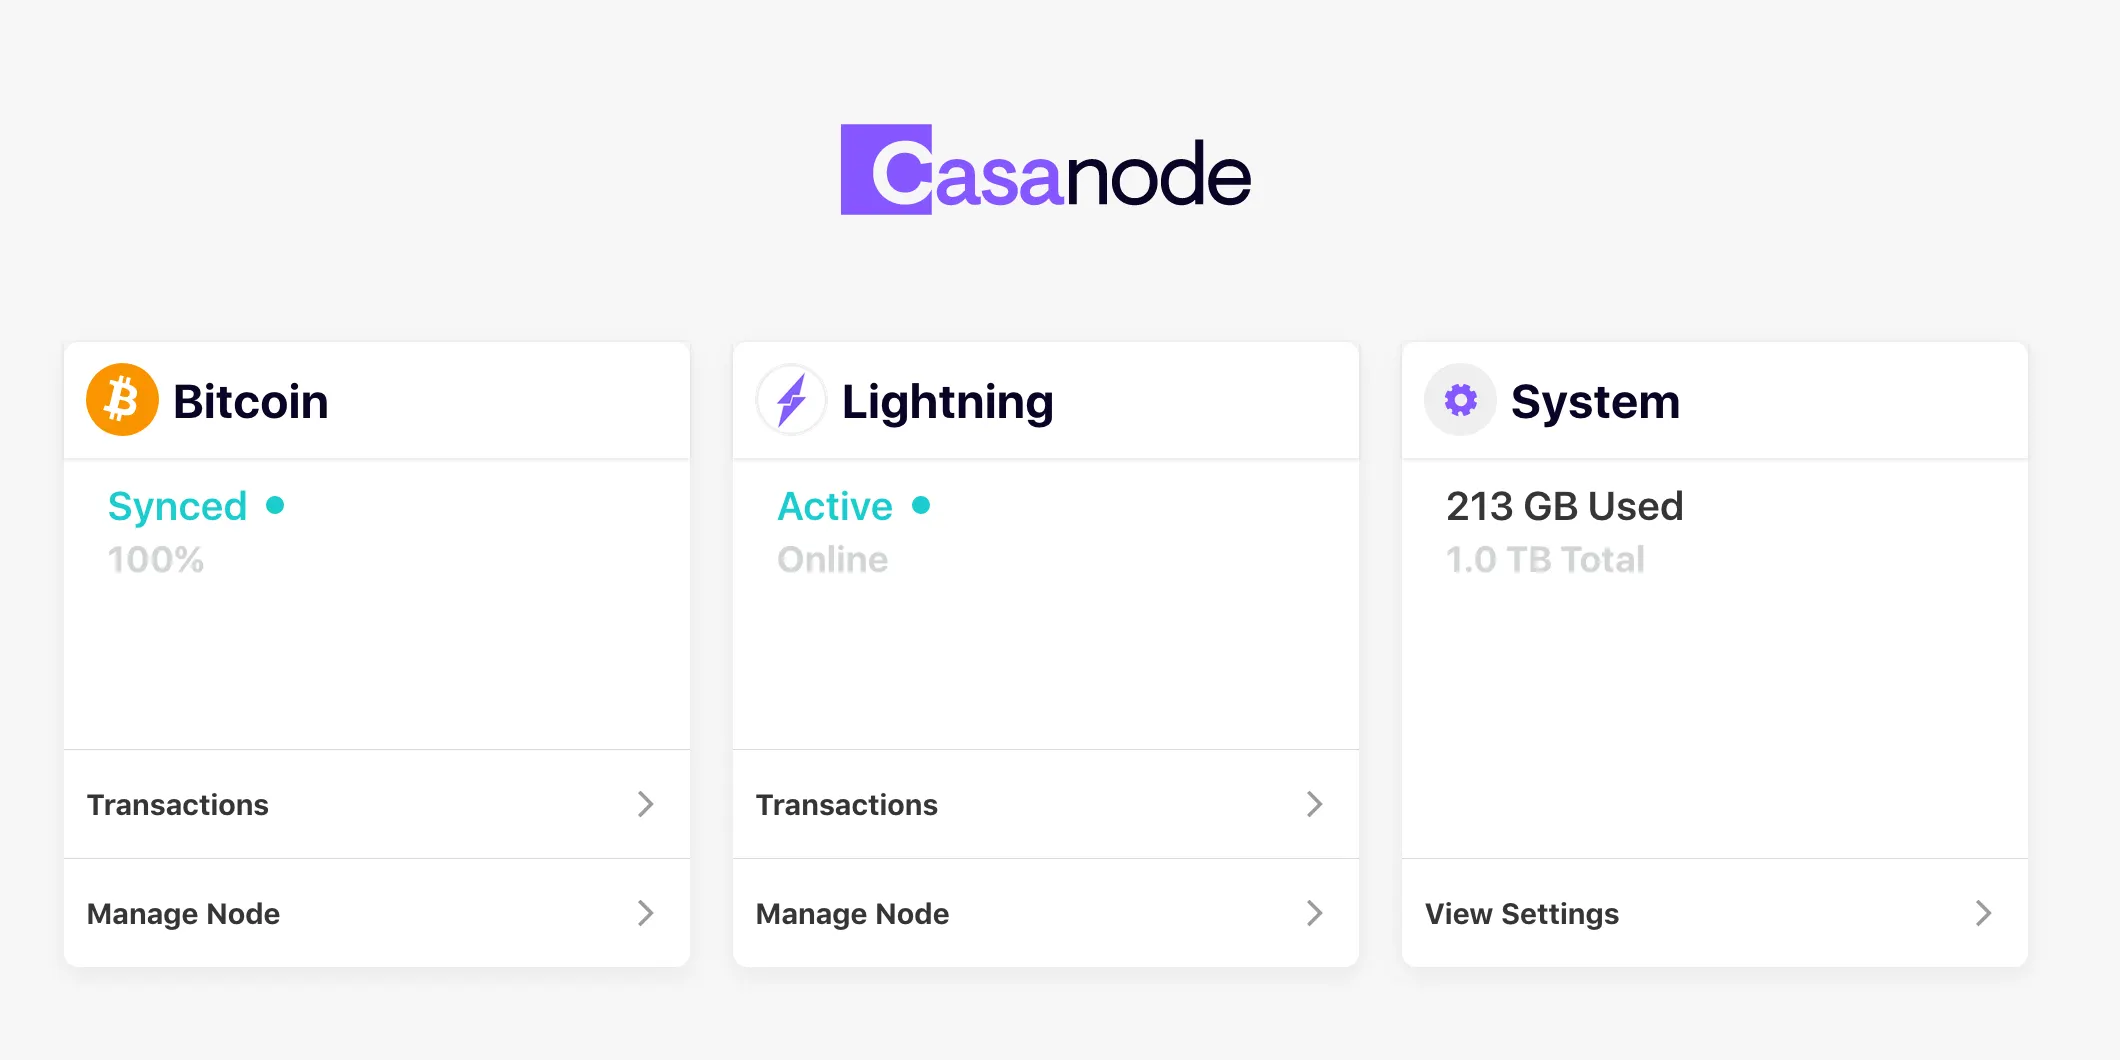
The syncing that happened after this took about a day. While Casa does pre-sync the nodes by downloading the entire Bitcoin blockchain, the blocks created between the time Casa shipped your node and the time it is first plugged in are missing. The Pi doesn’t exactly have the strongest CPU, so one or more days of syncing is not unheard of. Even if you were to build a node yourself, the Raspibolt guide recommends downloading the blockchain with a faster computer and then porting it over to the Pi.
This is what it looks like when the sync is complete. The interface is impressively clean, simple, and easy to use.
Casa Node: Working with Lightning
To start using Lightning, you’ll need to put some funds in the node’s Bitcoin wallet. When viewing the Bitcoin transactions, there is a "Deposit" button which generates a QR code representing an address in the wallet. Use that to send some Satoshis to your node. These funds will then be used to open up some channels. (Channels are connections created between peers to allow the movement of payments, among other things.) A word of advice: think in units of Bitcoin. Due to the fluctuating price, it can get very confusing if you put $10 into the node and tomorrow it’s worth $5, or maybe $15. It’s still the same amount of Bitcoin but the conversion to dollars has changed.
There are two ways to begin opening channels. The first option is to run autopilot. This is great for the first time Lightning user because it “includes settings optimizing for both everyday use and fee revenue.” The other way is to manually setup channels by specifying exactly which peers to connect with. If you frequently send payments to a single entity, such as a friend or your favorite coffee shop, this is the way to go.
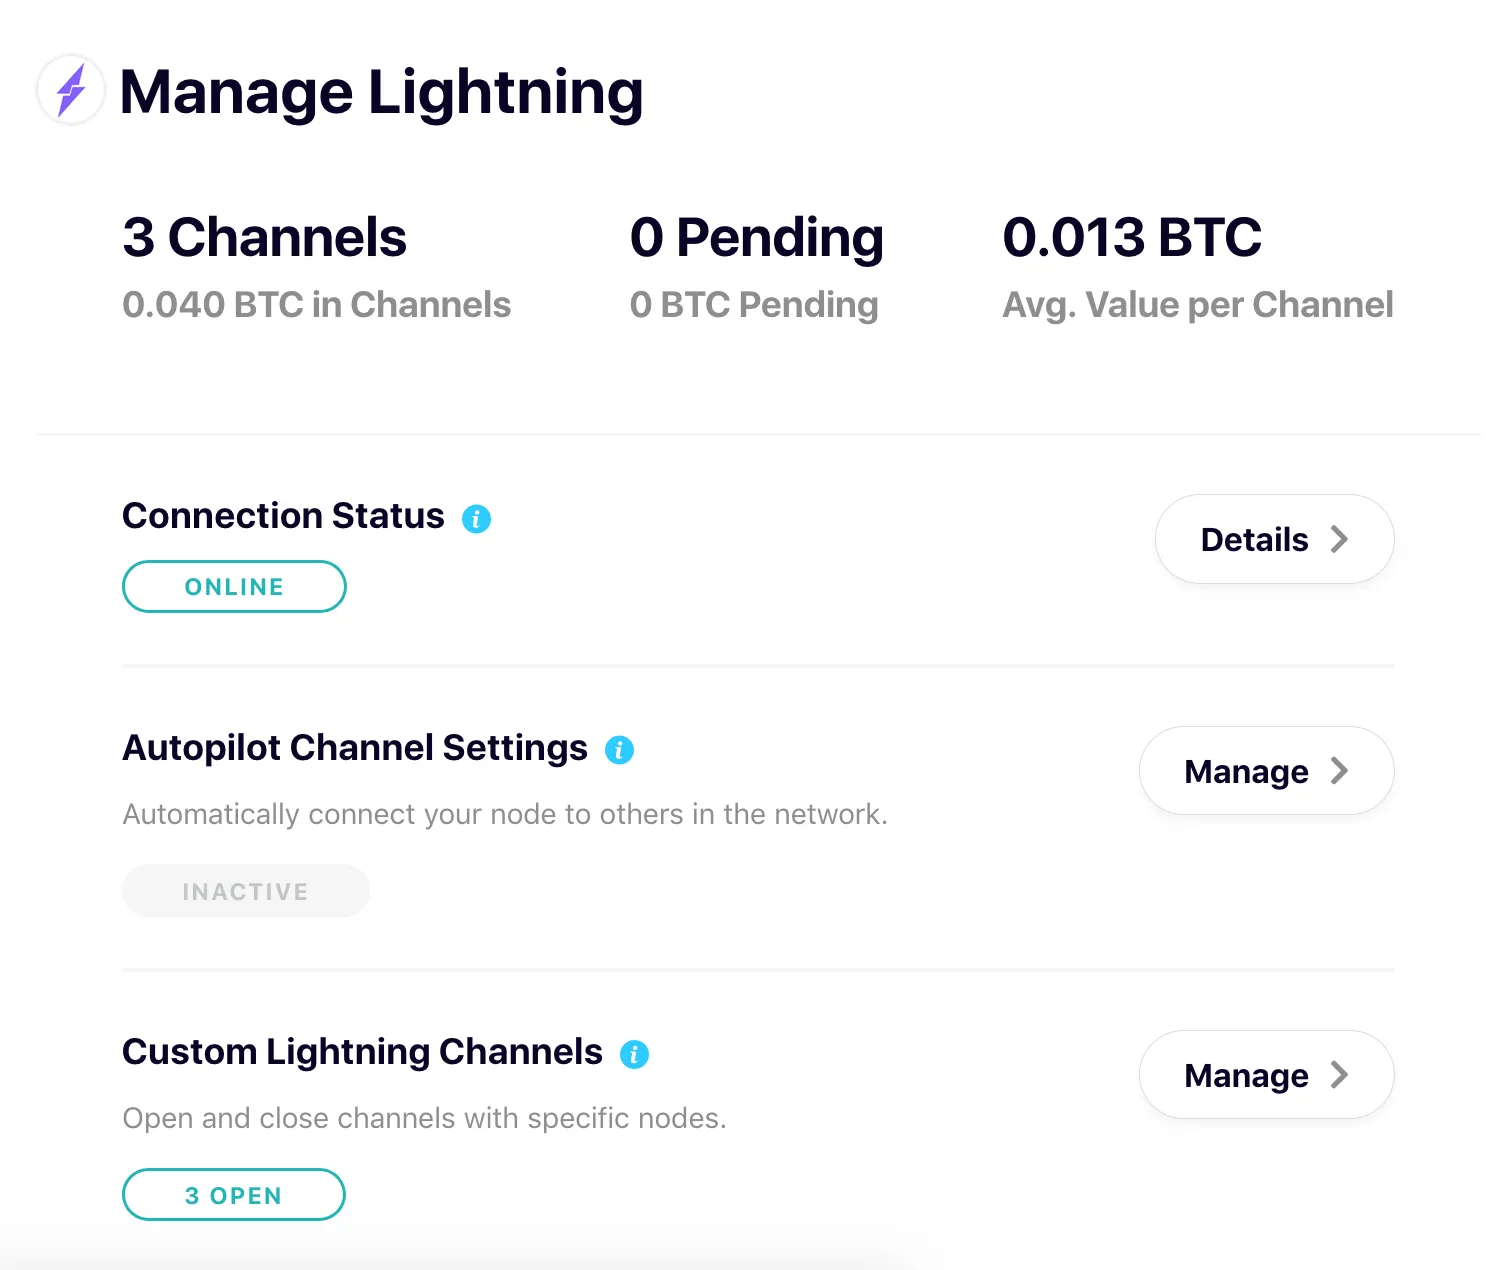
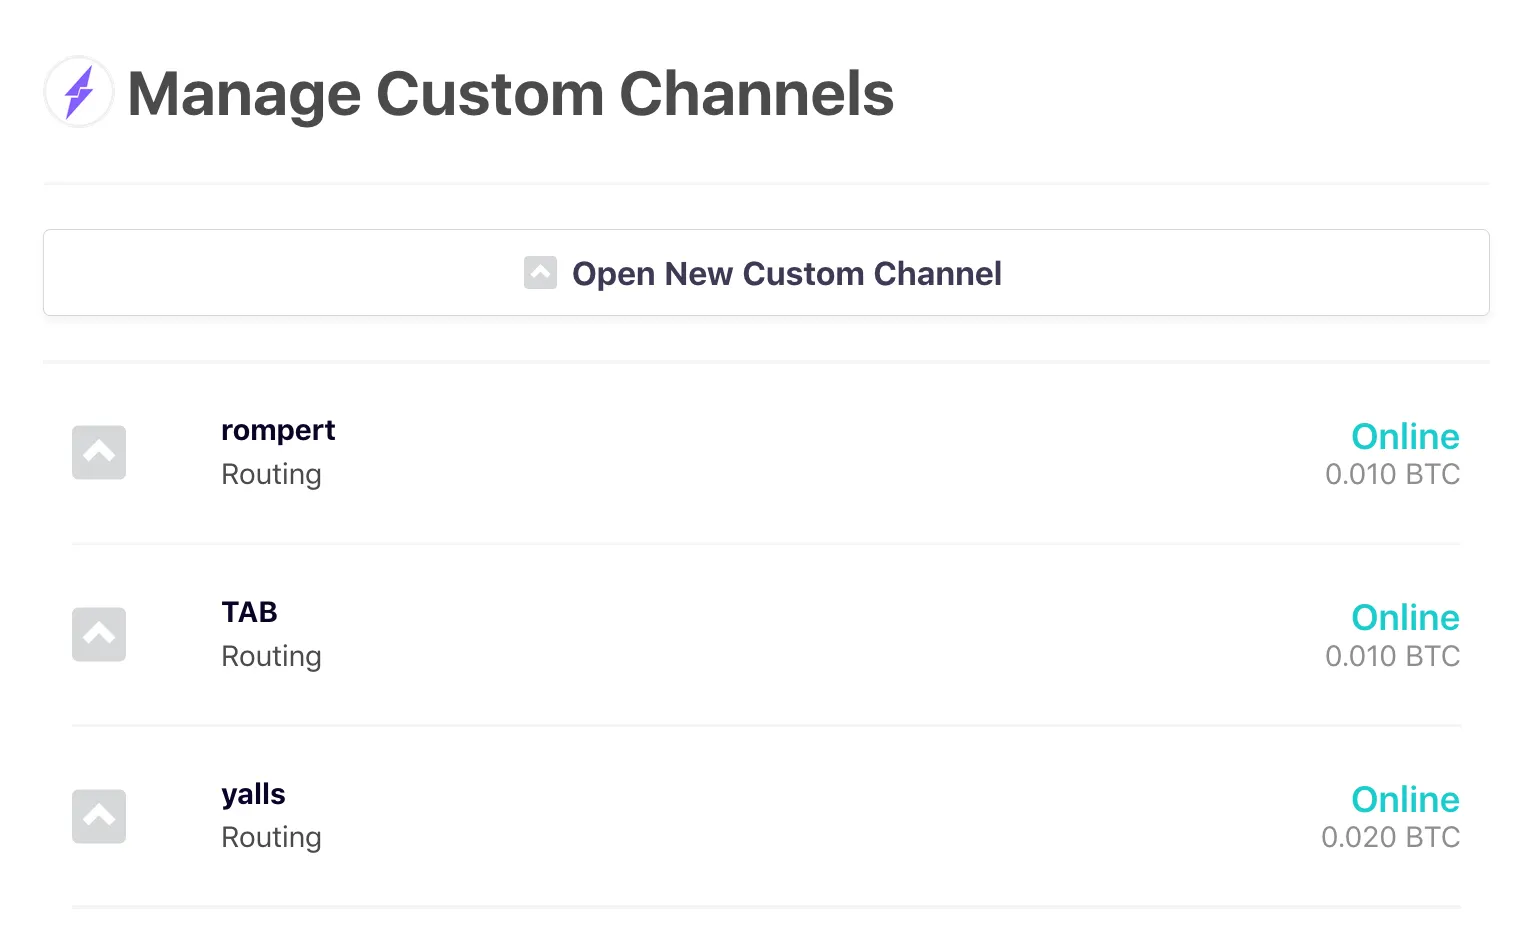
Once one or more channels have been opened, the node is ready to start sending and receiving payments! A lot of people like using Lightning to purchase small items such as the “I Got Lightning Working” sticker, or collecting micropayments for content. Y’alls is a fun site where you can publish articles for pennies and charge readers as little as a cent to read. The best part is, this is just the tip of the iceberg. As the Lightning network gains adoption we will see many more exciting use cases. In fact, once I spend some more time with it, I’m thinking of setting up my own store.
For more information on the Casa node, including some more of the technical specifics, check out the FAQ page. Have tried it out yet? Are you thinking about getting one? We’d love to hear from you!

